 |
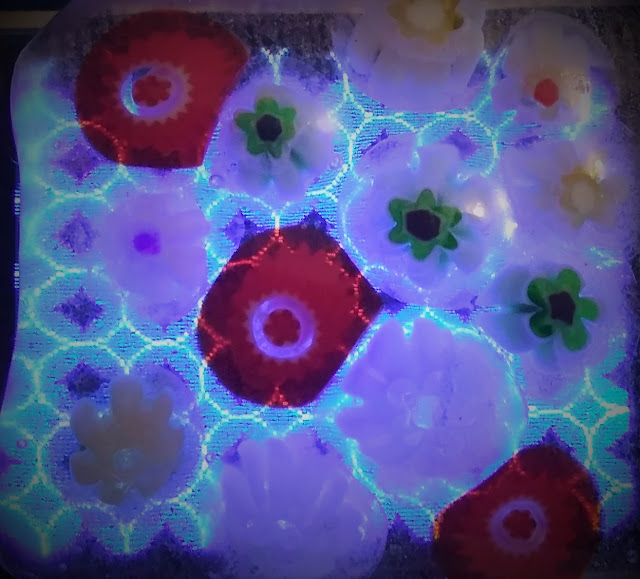
| The glass was done by a friend, all I did was add the lights and code. |
My friend uses a budget friendly version of glass fusing that uses a microwave safe kiln to melt the glass, not an expensive specialized kiln. Yes, that's right - you heat up glass to the melting point in your basic home microwave oven. The process itself is simple and easy to get started with, but the fun comes from learning all the tricks and techniques for getting the look you want.
There are several models of kilns on the market. (The links and advertisements go to my Amazon Affiliate where I earn a commission) Probably the best known in the states is the Fuseworks line of kilns and accessories. (affiliate) Most people start by getting the kit and adding other parts and materials as they go
But if you are already a crafter you might have the gloves and cutter and heatproof stand that come with the kit. In that case you could just buy the kiln, some kiln paper (affiliate) and maybe some glass (affiliate) to get started with.
Go for the large size of the kiln, even it's kind of small. The Fuseworks brand has a good reputation, but there are many brands on the market.
You will need some kiln paper. It goes between the glass and the surface of the kiln. The paper burns off during the firing process but the paper and resulting layer of ash keeps the glass from sticking to the surface of the kiln. The most popular kiln papers seem to be the Fuseworks and Bullseye and Spectrum.
Most people start with Fuseworks because it works well, leaves a smooth finish and comes in small pieces. And if you only fire a few pieces a month a lot of people never use anything else. But for people who fire dozens of pieces every month, or who experiment with temperatures and types of glass, the Bulleye paper comes in larger, less expensive sheets that seem to be more rugged.
Of course, the fun part is the glass itself. And it comes in all types of colors and shapes and sizes. There are shards and frit, rods, plugs, circles and squares. There are also specialty glass types like millefiori and the amazing dichroic.
Most people start with a small collection of glass (affiliate) that provides samples of several different types.
After you find out what types of glass you like to work with, you can order sets of that type.
Hopefully, this gives you a good idea of where to start with microwave glass fusing. It can be a very rewarding and relatively inexpensive hobby craft, or it can turn into an all consuming craft business. Either way, with a little time and some free experimentation, you will get some beautiful pieces of glass to use in your projects.
As an Amazon Associate I earn from qualifying purchases.
Shop through our Amazon links to help support this site.
Shop through our Amazon links to help support this site.
Also find me on: