 |
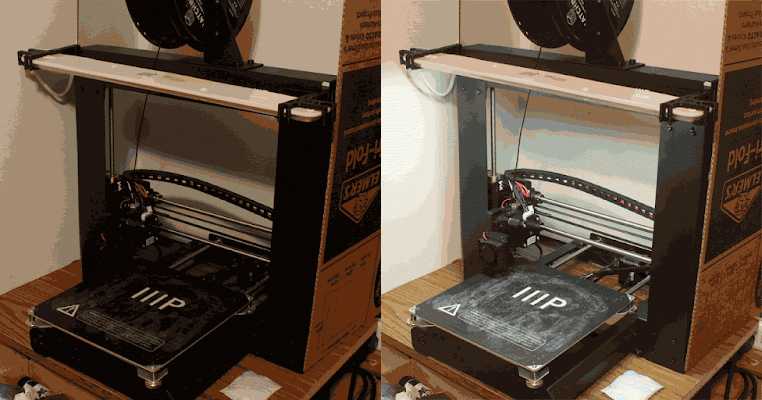
| An animated gif showing the difference the lamp makes to the illumination on the print bed. Also notice my high-tech printer enclosure (two trifold panels and a plastic bag. |
The light from my studio's overhead light got blocked when I stood near the printer, and the desk-lamp still wasn't bright enough. I had to hold a light near the printer to really see what was happening with the print, or make the entire room blindingly bright just to see what the print looked like. So I decided to design a bracket to permanently attach a light to the printer itself.
At first I was going to do a simple squared-off S-hook and hang the light off the top rail of the printer. But no, that was too simple for a self-proclaimed designer. So I used the notches at the corner of the vertical and horizontal bars to create a pair of brackets. And I "just had to" decorate the bracket with mini-pilasters and notches and grooves. Hey, it may be a simple functional object - but that's no reason to not adorn every surface with decorations.
I had an old LED strip-light designed to go under kitchen counters. It's way too dim for my kitchen needs, but worked really well for shelves and the workbench. Plus, it was almost the exact size of my printer and the multiple LEDs gave an even illumination to all sides of the prints- no pesky shadow sides. So it had already become a sort of portable flashlight for my 3d-printing corner.
Finally, I had the brilliant idea to attach it to the printer and avoid the extra step of holding the lamp every time I wanted to check the progress of the print.
 |
The Monoprice i3 v2 has notches at the top of the vertical bar. Be careful - the notches on my printer were NOT THE SAME SIZE on both sides. I had to customize the tube that goes into the notch.
|


